SpringBoot [스프링부트] Spring Security Oauth2 만들기 (4)
이제 SecurityConfig와 LoginController를 만들어보겠습니다.
1. SecurityConfig
@RequiredArgsConstructor
@EnableWebSecurity
public class SecurityConfig extends WebSecurityConfigurerAdapter {

    private final CustomOauth2UserService customOauth2UserService;


    @Override
    protected void configure(HttpSecurity http) throws Exception {
        http.csrf().disable()
                .authorizeRequests() // URL에 따른 권한을 관리하는 옵션입니다.
                .antMatchers("/").permitAll() //홈페이지인 "/"경로는 모두가 올 수 있습니다.
                .antMatchers("/user").hasRole(Role.USER.name()) // "/user"에 대한 경로는 USER를 가진 사람만 올 수 있습니다.
                .antMatchers("/guest").authenticated() // "/guest"는 로그인만 했다면 들어올 수 있습니다.
                .and()
                .logout() // "/logout"은 security에 구현되있으므로 구현하지 않아도 됩니다.
                .logoutSuccessUrl("/") //logout을 성공했을 시 돌아가는 경로입니다.
                .and()
                .oauth2Login() // Oauth2 로그인 기능에 대한 여러 설정의 진입점입니다.
                .userInfoEndpoint() // Oauth2 로그인 성공 이후 사용자의 정보를 가져올 때의 설정을 담당합니다.
                .userService(customOauth2UserService); // 서버쪽에서 사용자의 정보를 가져온 상태로 추가적인 기능을 설정할 수 있습니다.
                                                       // 저희의 경우 DB에 저장하거나 UPDATE하고 Session을 줍니다.
    }
}
2. LoginController
@Controller
@RequiredArgsConstructor
public class LoginController {


    private final HttpSession httpSession;

    @GetMapping("/")
    public String index(Model model){
        SessionUser loginUser = (SessionUser) httpSession.getAttribute("loginUser");

        if(loginUser!=null){
            model.addAttribute("user",loginUser);
        }
        return "/home";
    }

    @GetMapping("/user")
    public String user(Model model){
        SessionUser loginUser = (SessionUser) httpSession.getAttribute("loginUser");
        model.addAttribute("user",loginUser);
        return "/user";
    }

    @GetMapping("/guest")
    public String guest(Model model){

        SessionUser loginUser = (SessionUser) httpSession.getAttribute("loginUser");
        model.addAttribute("user",loginUser);
        return "/guest";
    }

}
- session에서 꺼내기 위해 HttpSession을 주입받습니다.
- 홈페이지인 "/"은 누구나 들어올 수 있습니다. 따라서 SessionUser!=null일 때만 model에 담아줍니다.
- "/user"는 User의 권한을 가진 사람만 들어올 수 있습니다. 아닌 사용자는 거부됩니다.
- "/guest"는 로그인만 되어있다면, 누구나 들어올 수 있다 단 로그인을 하지 않았다면 거부됩니다.
3. Html 추가 (html에 대한 포스팅이 아니므로 설명은 생략하겠습니다.)
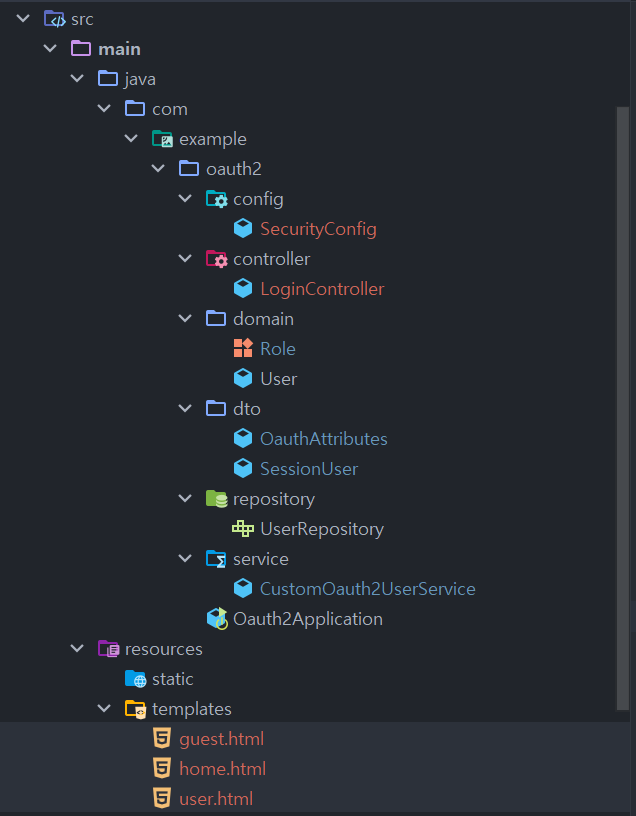
- resources/templates/ 경로에 guest, home, user를 생성해줍니다.
- home.html ( /oauth2/authorization/google은 google의 로그인을 해주는 곳이며, 로그인을 성공한다면, 저희가 리다이렉션 URL로 적었던 localhost:8080/login/oauth2/code/google로 되며, 이것은 security가 이미 구현을 해놓은 상태입니다. 따라서 요청을 시작한 URL은 localhost:8080/ 이므로 callback이 이용돼 localhost:8080/으로 리다이렉션 됩니다.)
<!DOCTYPE HTML>
<html xmlns:th="http://www.thymeleaf.org">

<head>
    <meta charset="UTF-8">
    <title>Home Page</title>
</head>
<h1> Home Page </h1>
<body>
<div class="container">
    <div>
        <a th:href="@{/oauth2/authorization/google}">google 로그인</a>
        <a th:href="@{/logout}">로그 아웃</a>
    </div>
</div> <!-- /container -->

<div class="container">
    <div th:if="${user}!=null">
        <ul>
            <li>Username = <span th:text="${user.name}"></span></li>
            <li>UserEmail = <span th:text="${user.email}"></span></li>
        </ul>
    </div>

</div>

</body>
</html>- guest.html
<!DOCTYPE HTML>
<html xmlns:th="http://www.thymeleaf.org">

<title>Guest Page</title>
<h1> Guest Page </h1>

<div class="container">
    <div th:if="${user}!=null">
        <ul>
            <li>guest: Username = <span th:text="${user.name}"></span></li>
            <li>guest: UserEmail = <span th:text="${user.email}"></span></li>
        </ul>
    </div>

</div>

</body>
</html>- user.html
<!DOCTYPE HTML>
<html xmlns:th="http://www.thymeleaf.org">

<title>User Page</title>
<h1> User Page </h1>

<body>

<div class="container">
    <div th:if="${user}!=null">
        <ul>
            <li>User: Username = <span th:text="${user.name}"></span></li>
            <li>User: UserEmail = <span th:text="${user.email}"></span></li>
        </ul>
    </div>

</div>

</body>
</html>
4. 직접 애플리케이션을 가동해보며, 테스트를 하겠습니다.
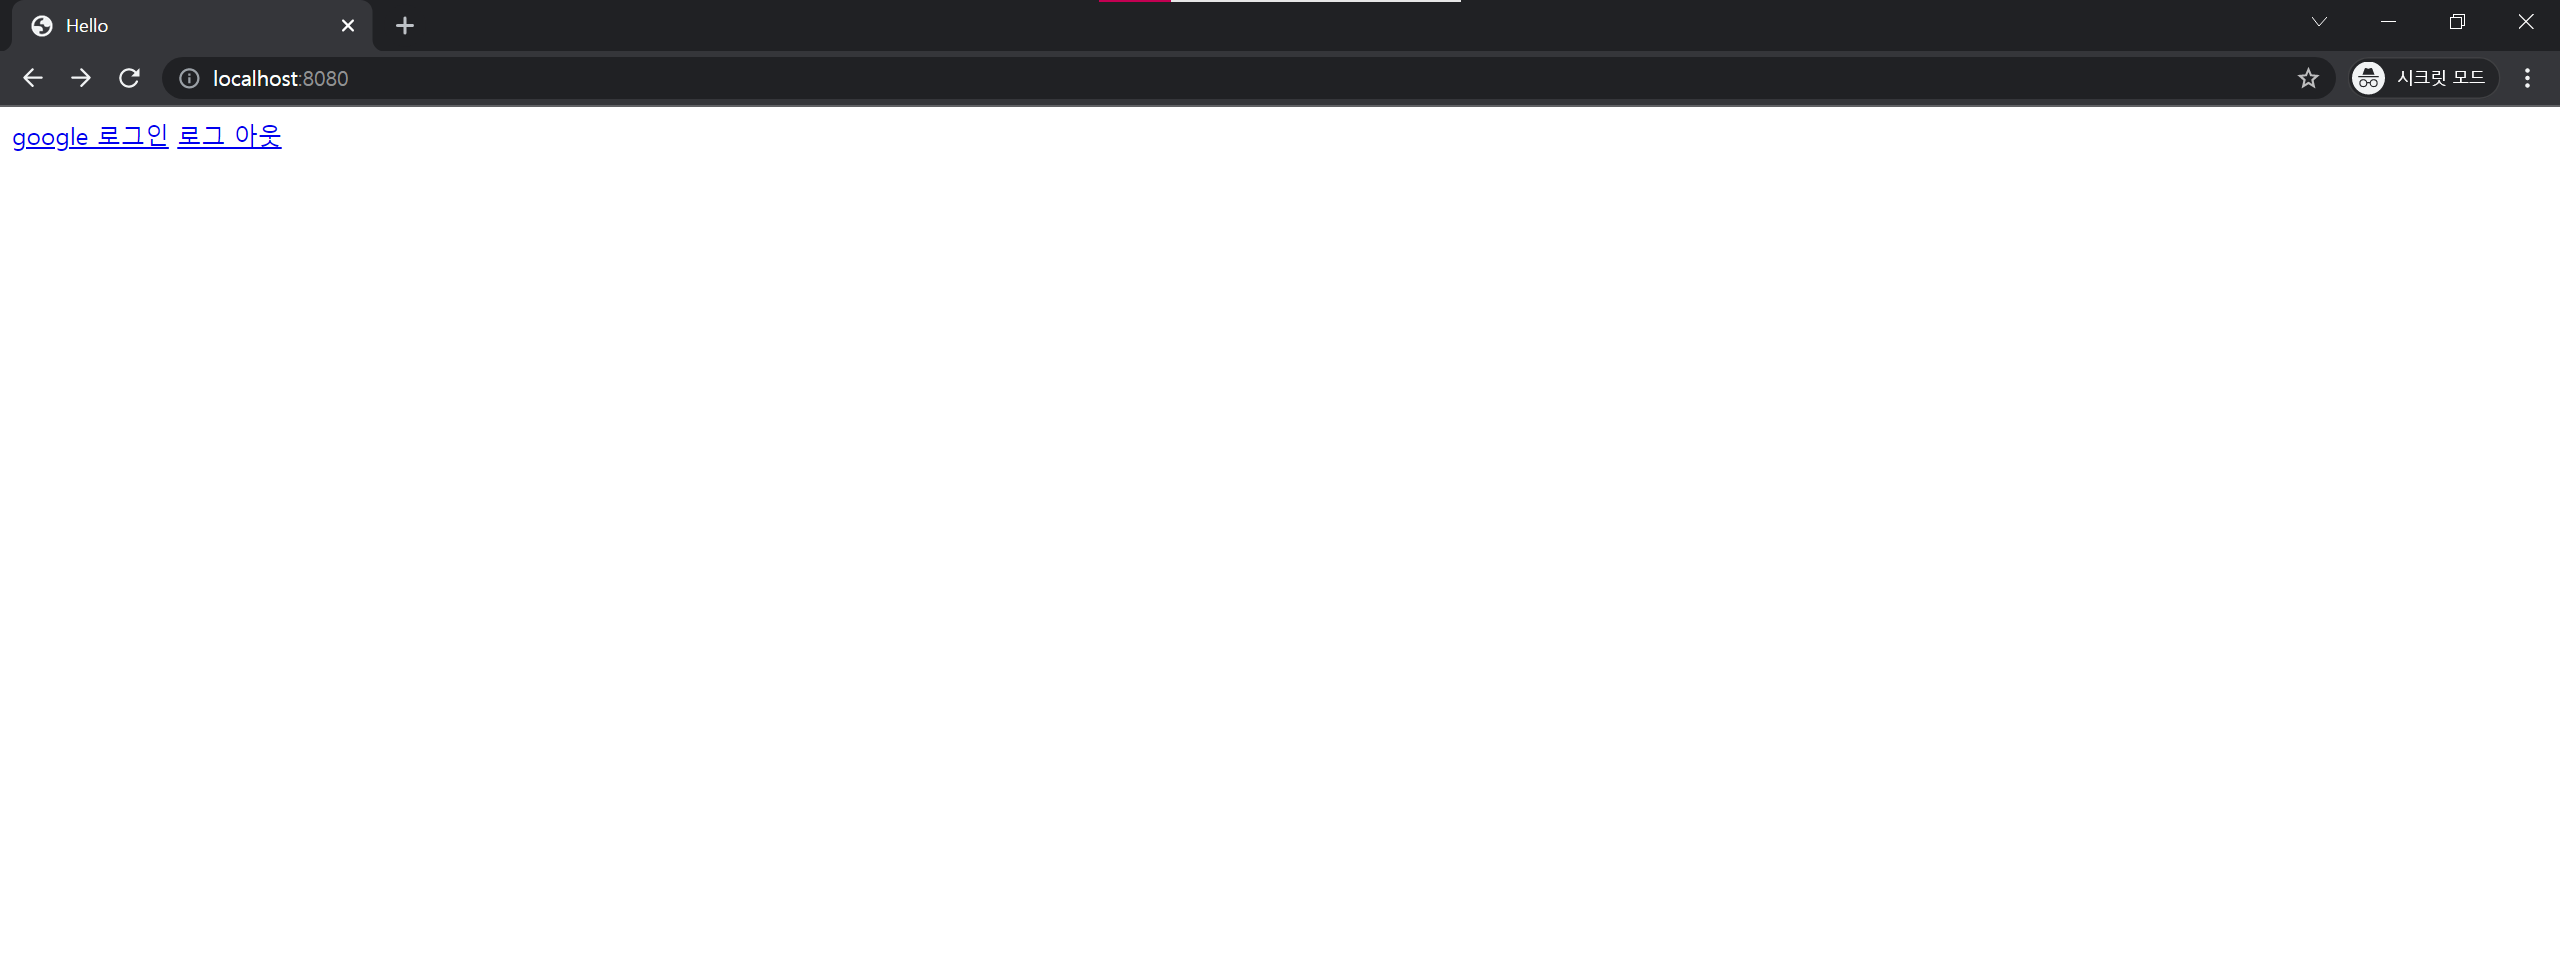
- 애플리케이션을 가동한 뒤 localhost:8080/으로 이동해줍니다. 아래와 같이 화면이 뜬다면 google로그인을 눌러줍니다.
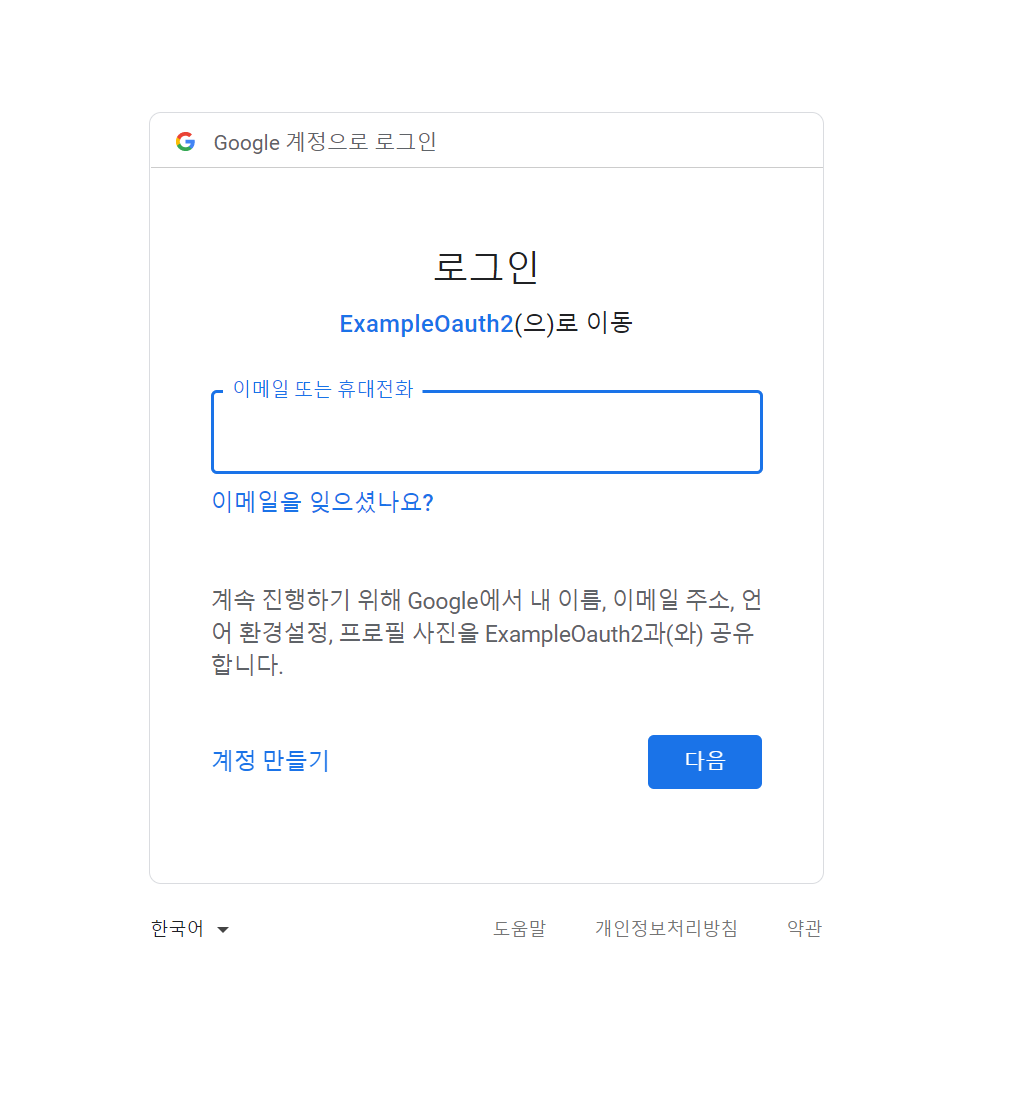
- 로그인을 진행해줍니다.
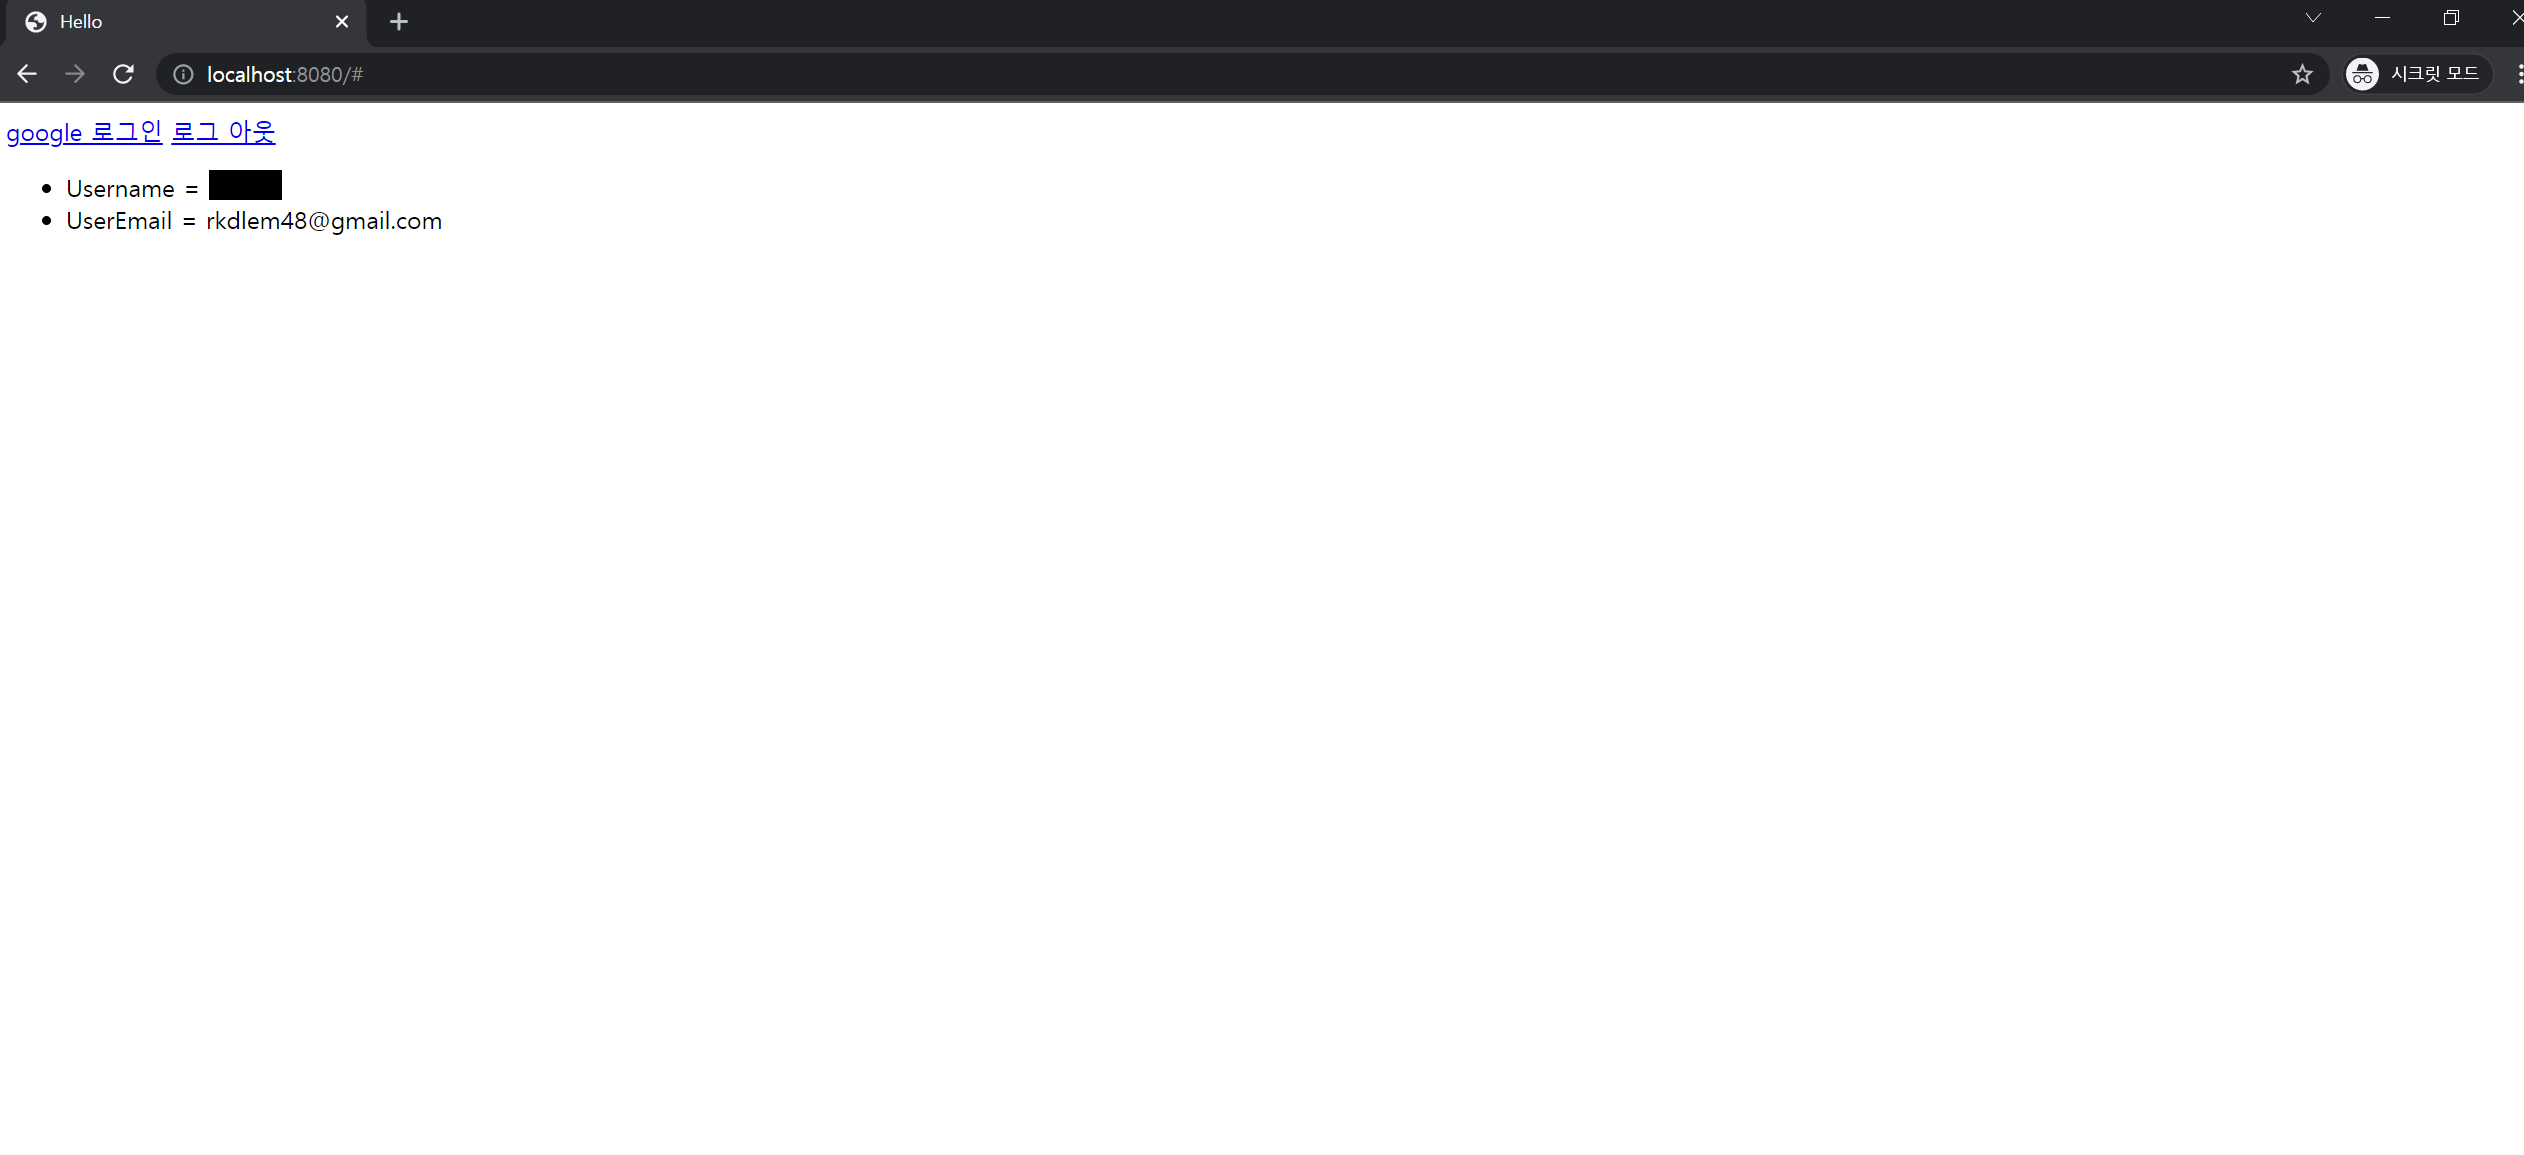
- 로그인이 완료되면 URL은 localhost:8080/#으로 돼있습니다. 또한 로그인이 성공하였으므로 session이 생겨 이름과 이메일이 나옵니다.
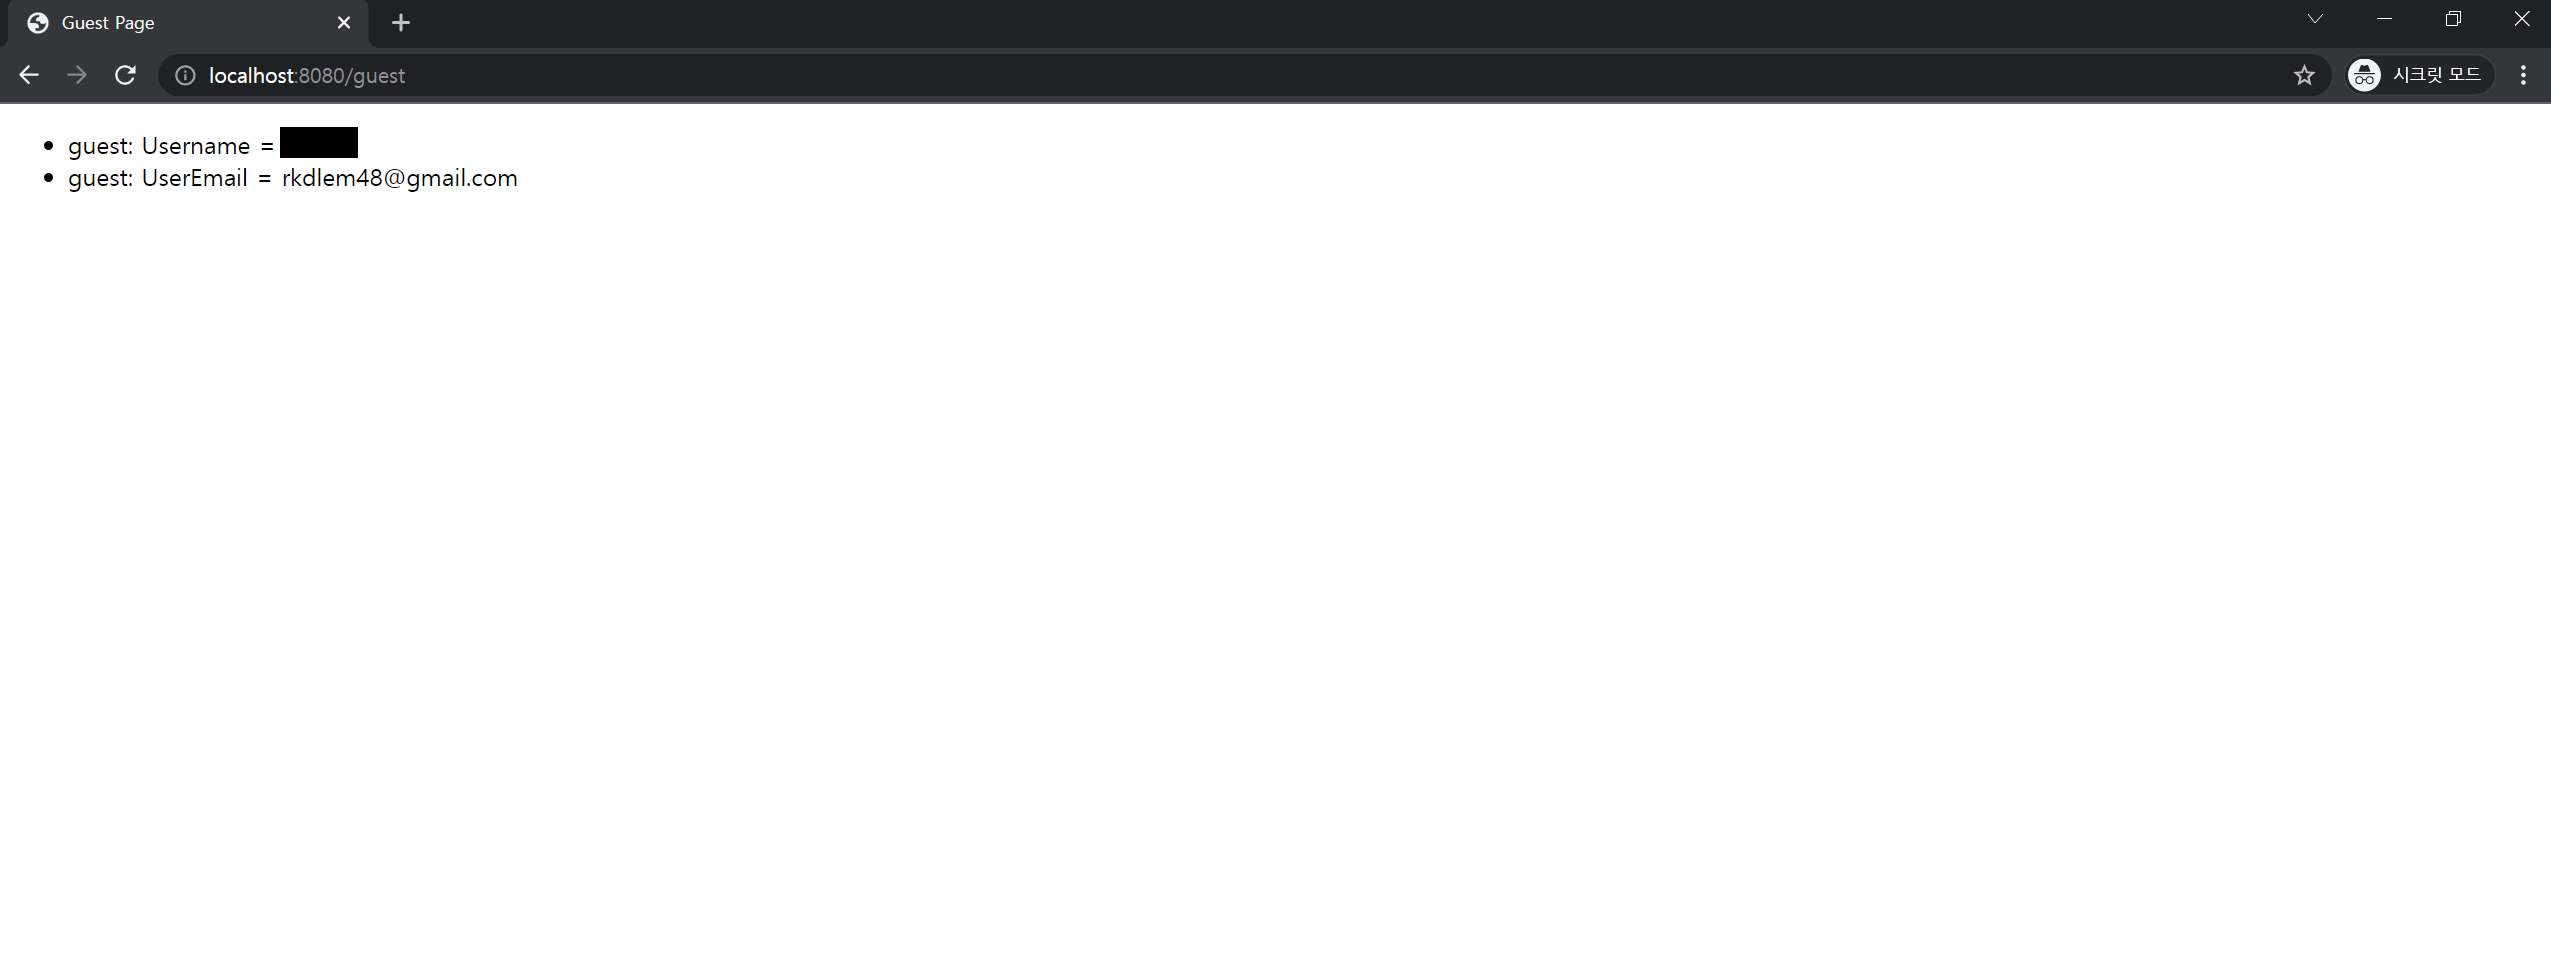
- localhost:8080/guest에 접속해봅니다. 해당 URL은 로그인만 되어있다면, 모두 들어올 수 있으므로 성공한 모습을 보입니다.
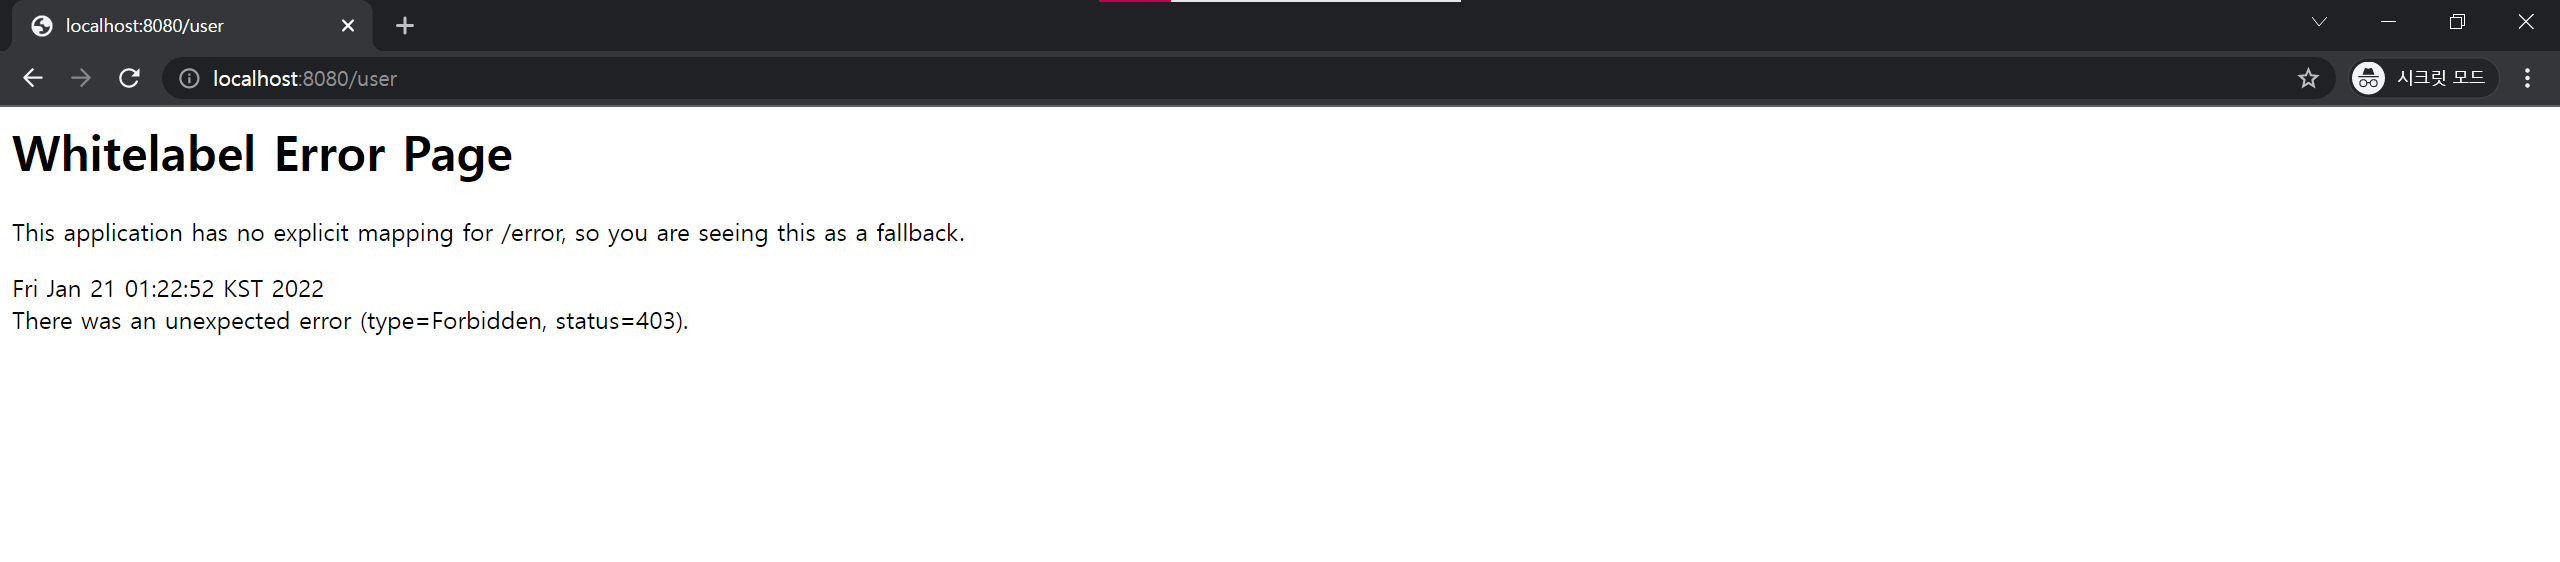
- localhost:8080/user로 접속하면, 해당 URL은 USER의 권한을 가진 사람만 접근이 가능하므로 403 ERROR가 납니다.
- 그렇다면 OauthAttributes에서 toEntity로 Entity를 만들 때 Role을 GUEST로 고정했던 것을 USER로 바꾸고 다시 "/user"에 접속해보겠습니다. 바꾸고 서버는 재실행해야 합니다.
public User toEntity(){
    return User.builder()
            .email(email)
            .name(name)
            .picture(picture)
            .role(Role.USER)
            .build();
}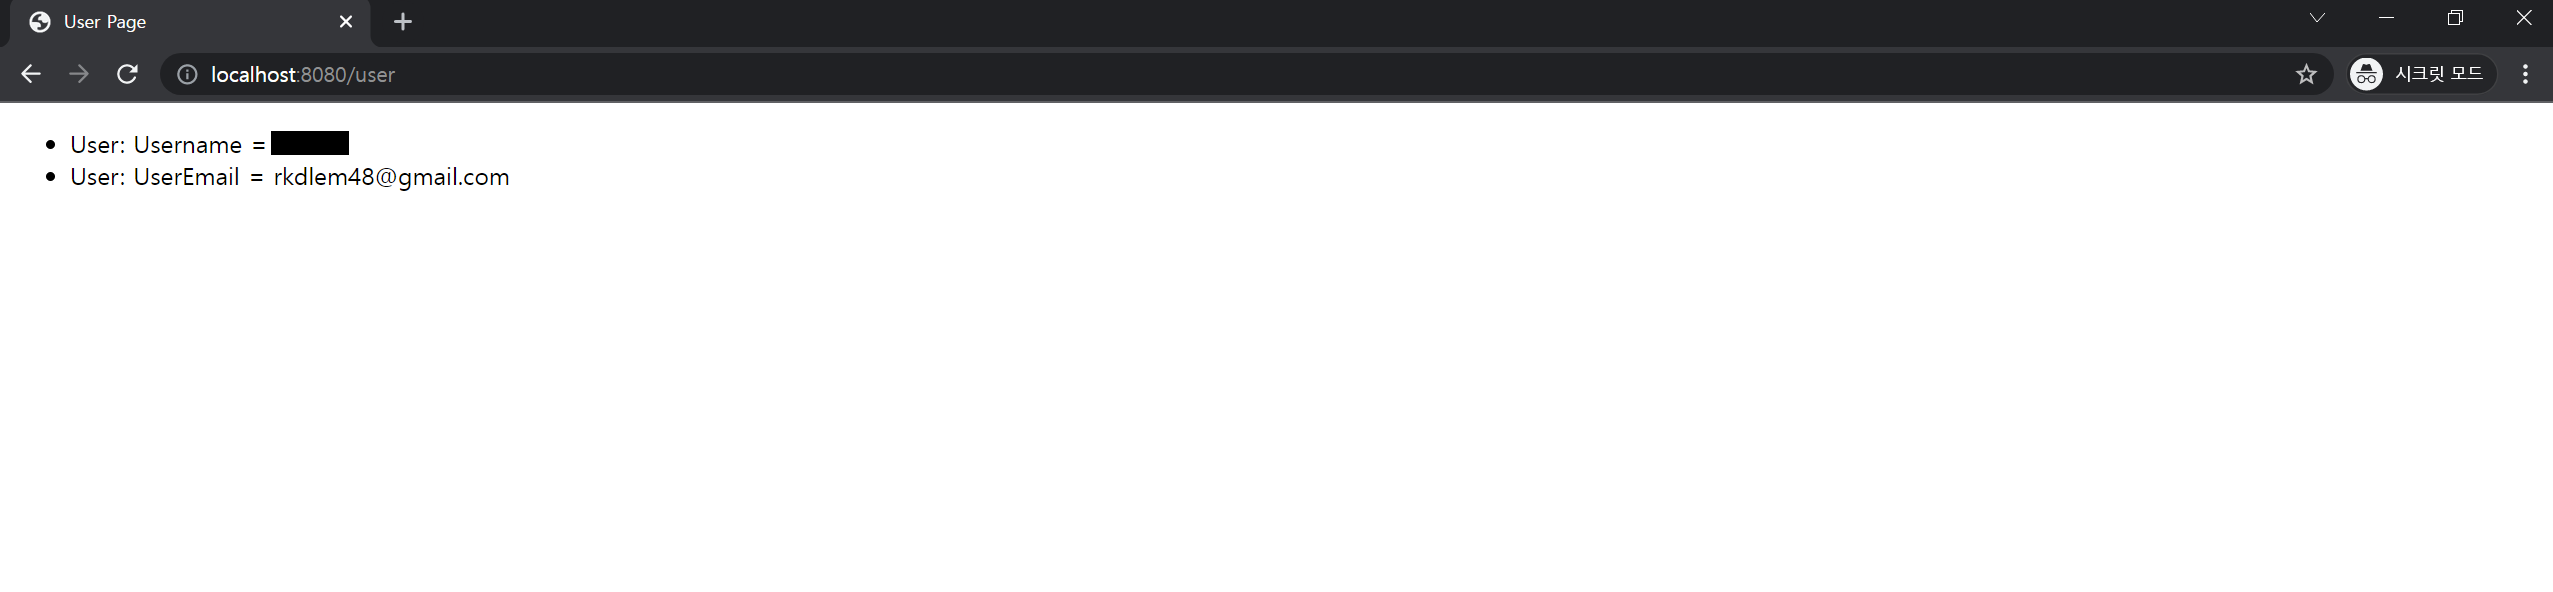
정상적으로 실행된 것을 볼 수 있었습니다.
지금까지 기본적인 Oauth2 로그인을 진행했습니다. 위의 경우처럼 권한이 달라 접속하지 못했을 때 별도의 html 보여주는 예외처리와 로그인이 성공했을 때 리다이렉션 주소를 설정해보겠습니다. 감사합니다.
모든 코드는 아래 링크에서 확인 가능합니다.
https://github.com/rlaehdals/Oauth2Example
GitHub - rlaehdals/Oauth2Example
Contribute to rlaehdals/Oauth2Example development by creating an account on GitHub.
github.com
'SpringBoot > spring security' 카테고리의 다른 글
| SpringBoot [스프링부트] Spring Security JWT 만들기(0) (0) | 2022.01.22 |
|---|---|
| SpringBoot [스프링부트] Spring Security Oauth2 만들기 (5) (0) | 2022.01.22 |
| SpringBoot [스프링부트] Sprig Security Oauth2 만들기(3) (0) | 2022.01.20 |
| SpringBoot [스프링부트] Spring Security Oauth2 만들기(2) (0) | 2022.01.20 |
| SpringBoot [스프링부트] Spring Security Oauth2 만들기(1) (0) | 2022.01.20 |